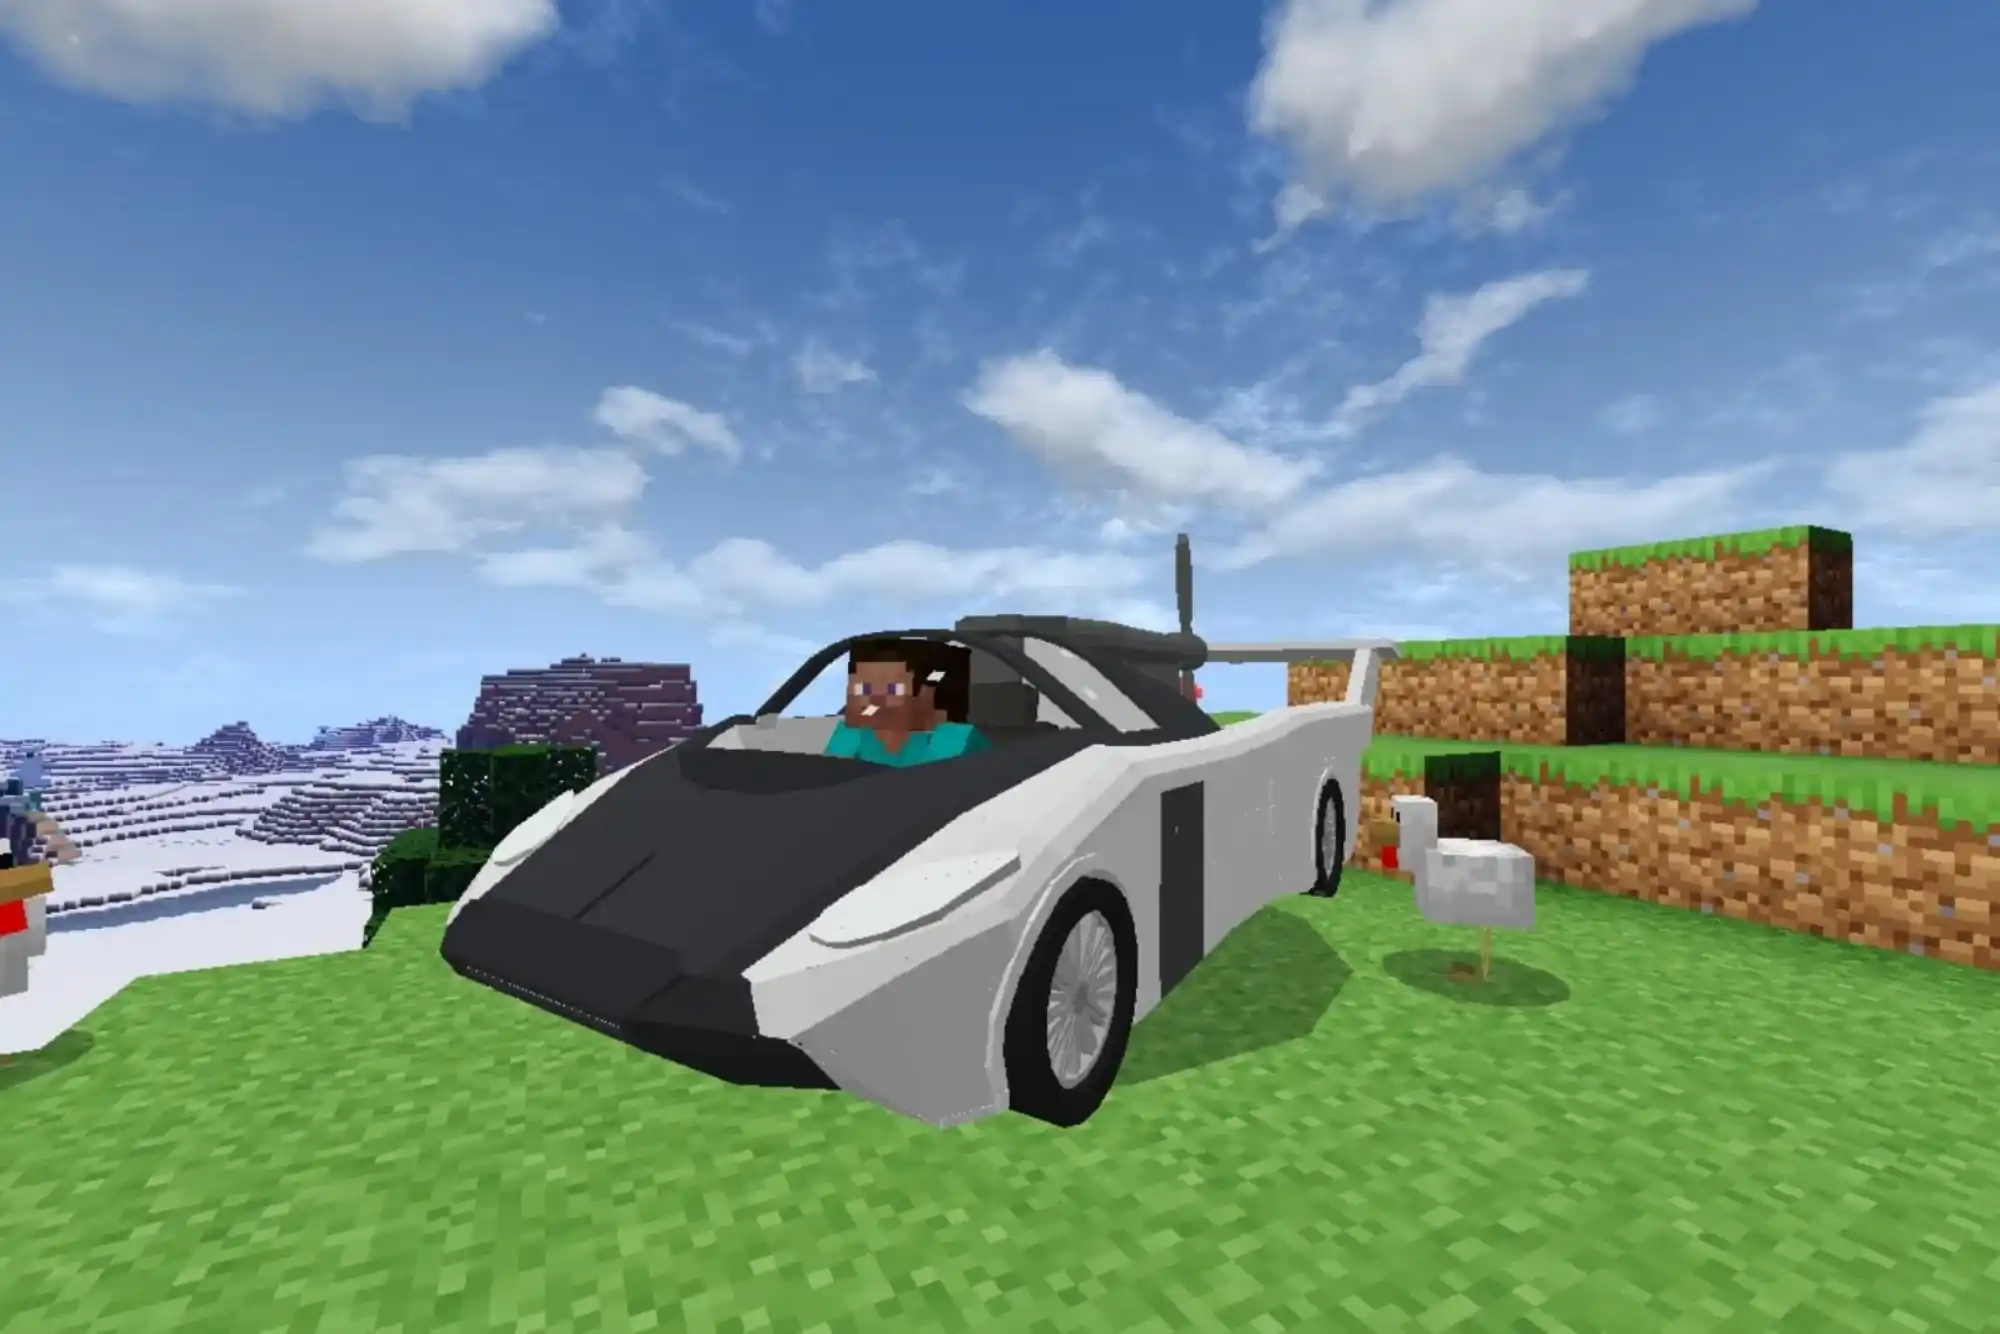
Creating a car in Minecraft can be a fun and exciting project. Although Minecraft doesn’t allow you to create functional vehicles like in real life, you can build a car that moves using creative techniques. This article will provide a step-by-step guide to making a simple moving car in Minecraft, covering the necessary materials, setup, and important tips. Let’s get started on building your Minecraft car and adding a unique twist to your gameplay experience.
Materials Needed for Building a Car in Minecraft
Before you start building your car, it’s essential to gather the required materials. Minecraft offers a wide range of blocks and items, allowing for great customization. Below is a list of materials commonly used to create a basic moving car in Minecraft.
| Material | Quantity | Purpose |
|---|---|---|
| Sticky Pistons | 2 | Enables movement by pushing and pulling blocks |
| Slime Blocks | 4-6 | Connects the blocks together to form a flexible body |
| Observer Blocks | 2 | Detects block updates to trigger movement |
| Building Blocks | Varies | Forms the frame and body of the car |
| Redstone Block | 1 | Provides power to the pistons for movement |
Choose a Location
When building a car in Minecraft, you should first select a flat and open area. Flat terrain makes it easier to place blocks and observe the car’s movement. Ideally, the ground should be clear of any obstructions that could interfere with the car’s operation.
Lay the Car’s Foundation
- Start by placing two Sticky Pistons in a straight line, with a one-block gap between them. The pistons should face the direction in which you want the car to move.
- Attach Slime Blocks to each Sticky Piston. These Slime Blocks will serve as the car’s core, enabling it to connect and move together with other parts of the car.
- Add more Slime Blocks to create a rectangular shape, forming the car’s base.
Add Observers for Movement Control
Observers play a crucial role in the car’s movement, as they detect block updates and trigger the pistons. Follow these steps to set them up:
- Place one Observer Block facing one Sticky Piston. Make sure the observer’s “face” is pointed toward the piston, and the output side is connected to the Slime Block.
- Place another Observer Block facing the opposite Sticky Piston, mirroring the first setup.
- When either of the observers detects a change, it will send a signal that pushes the car forward or backward.
Design the Car’s Frame
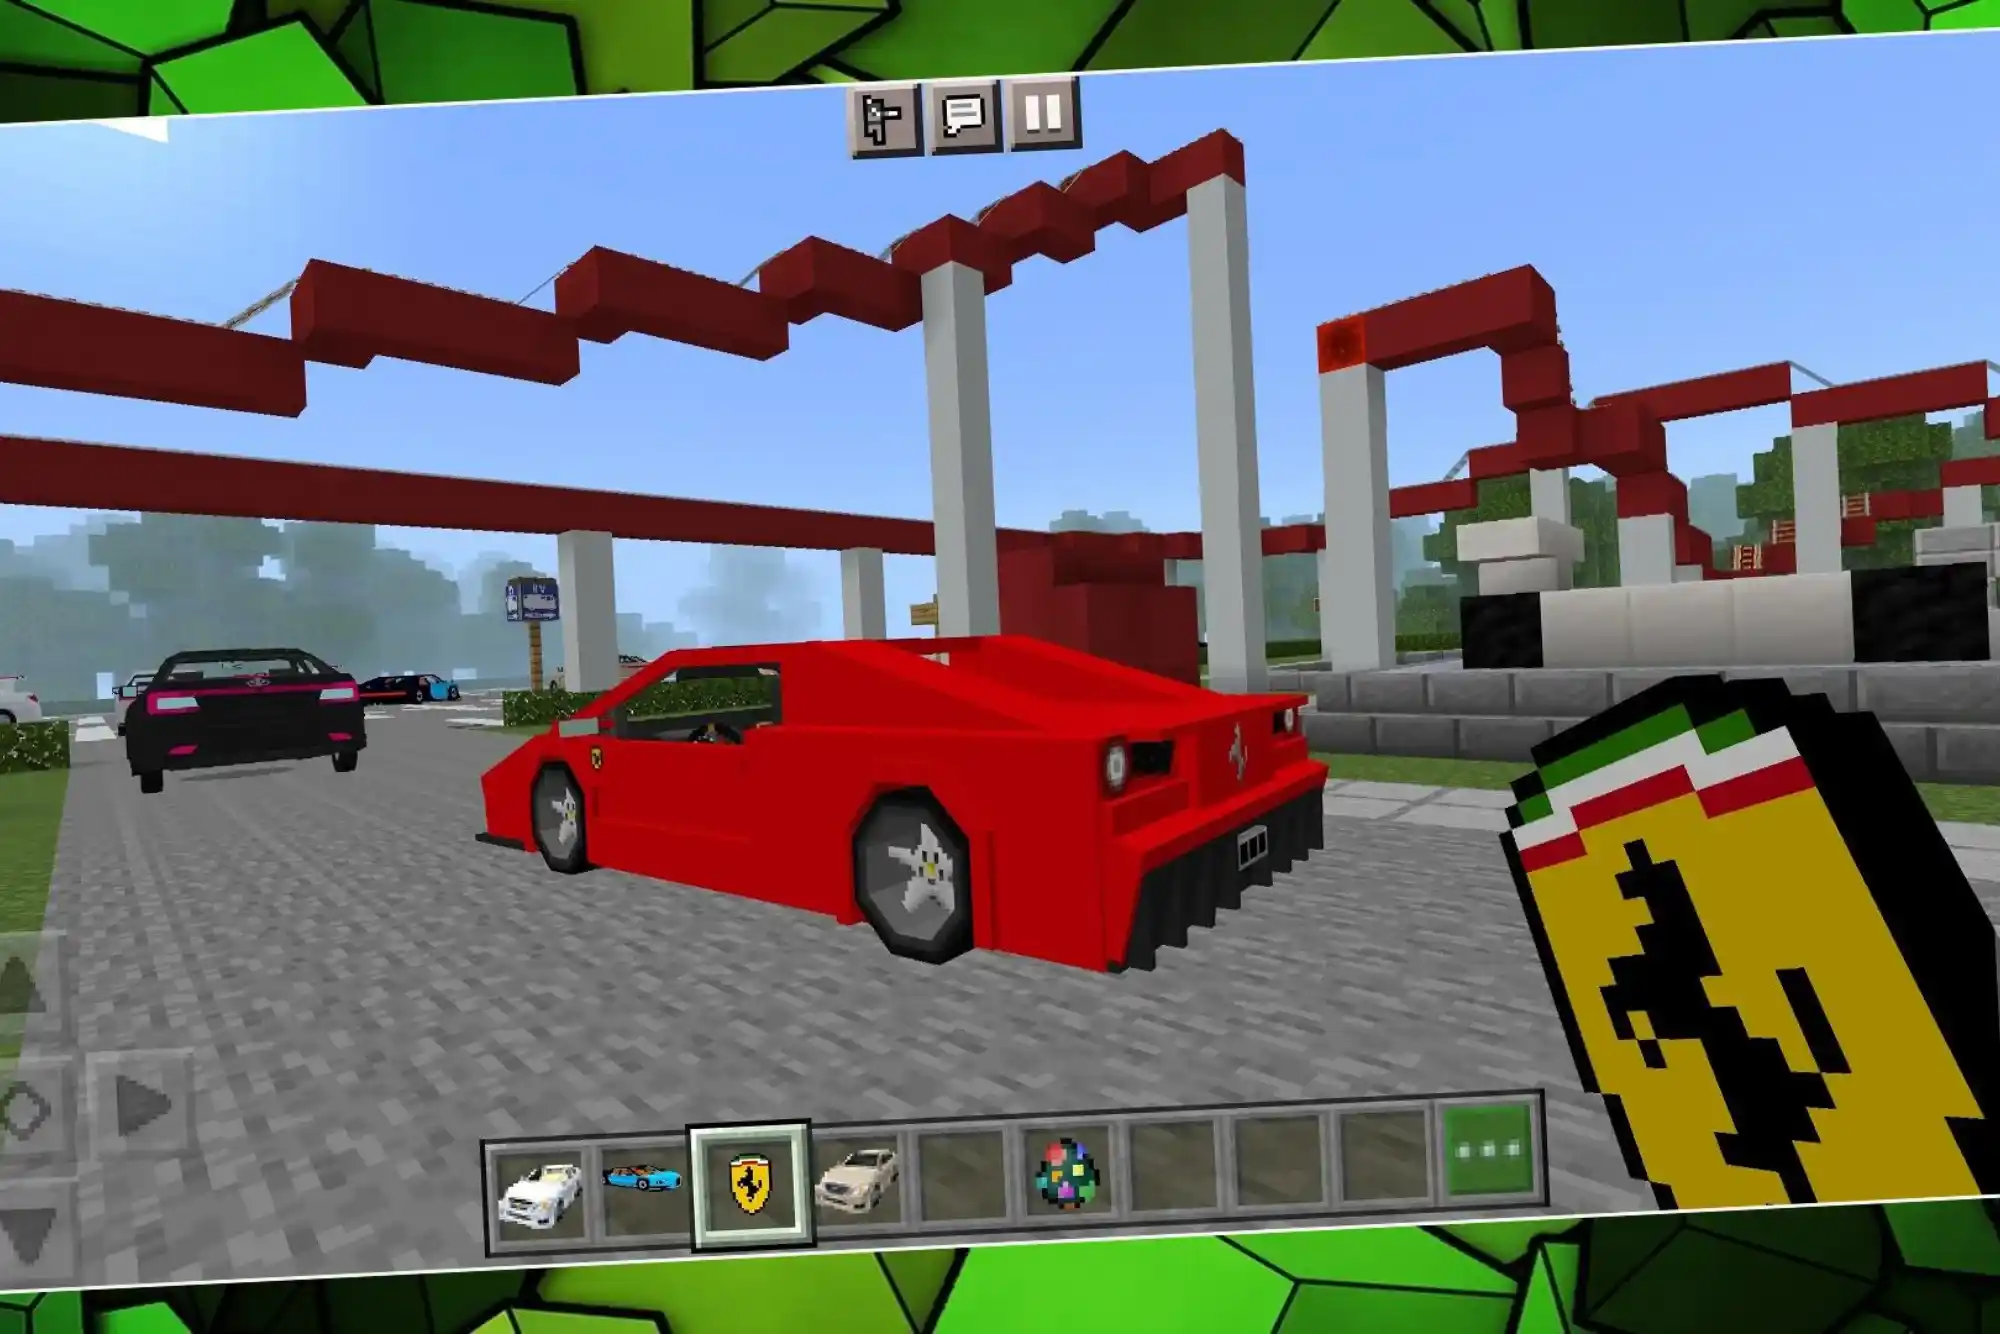
To make the car look like a vehicle, add some Building Blocks around the Slime Blocks. These blocks can represent different parts of the car, like the roof, seats, and front grille.
- Attach blocks to the sides and top of the Slime Block frame to make the car look more realistic.
- Avoid placing blocks directly in front of the pistons or observers, as this could obstruct movement.
- Customize the color and type of the building blocks for a more personalized car design.
Power the Car Using Redstone Blocks
Redstone blocks are essential for activating the pistons and observers, enabling your car to move.
- Place a Redstone Block next to one of the Observer Blocks. This will provide power to the pistons and initiate movement.
- When the Redstone Block is removed and then placed again, the car will start moving.
- You can continue using Redstone Blocks to stop and start the car as needed.
Test and Refine Your Car
With the car fully built, it’s time to test its functionality.
- Double-check that the Slime Blocks, pistons, and observers are correctly aligned and unobstructed.
- Activate the car by placing the Redstone Block in the right position.
- Observe the movement and adjust the blocks as necessary if there are issues.
Tips for Building an Advanced Car in Minecraft
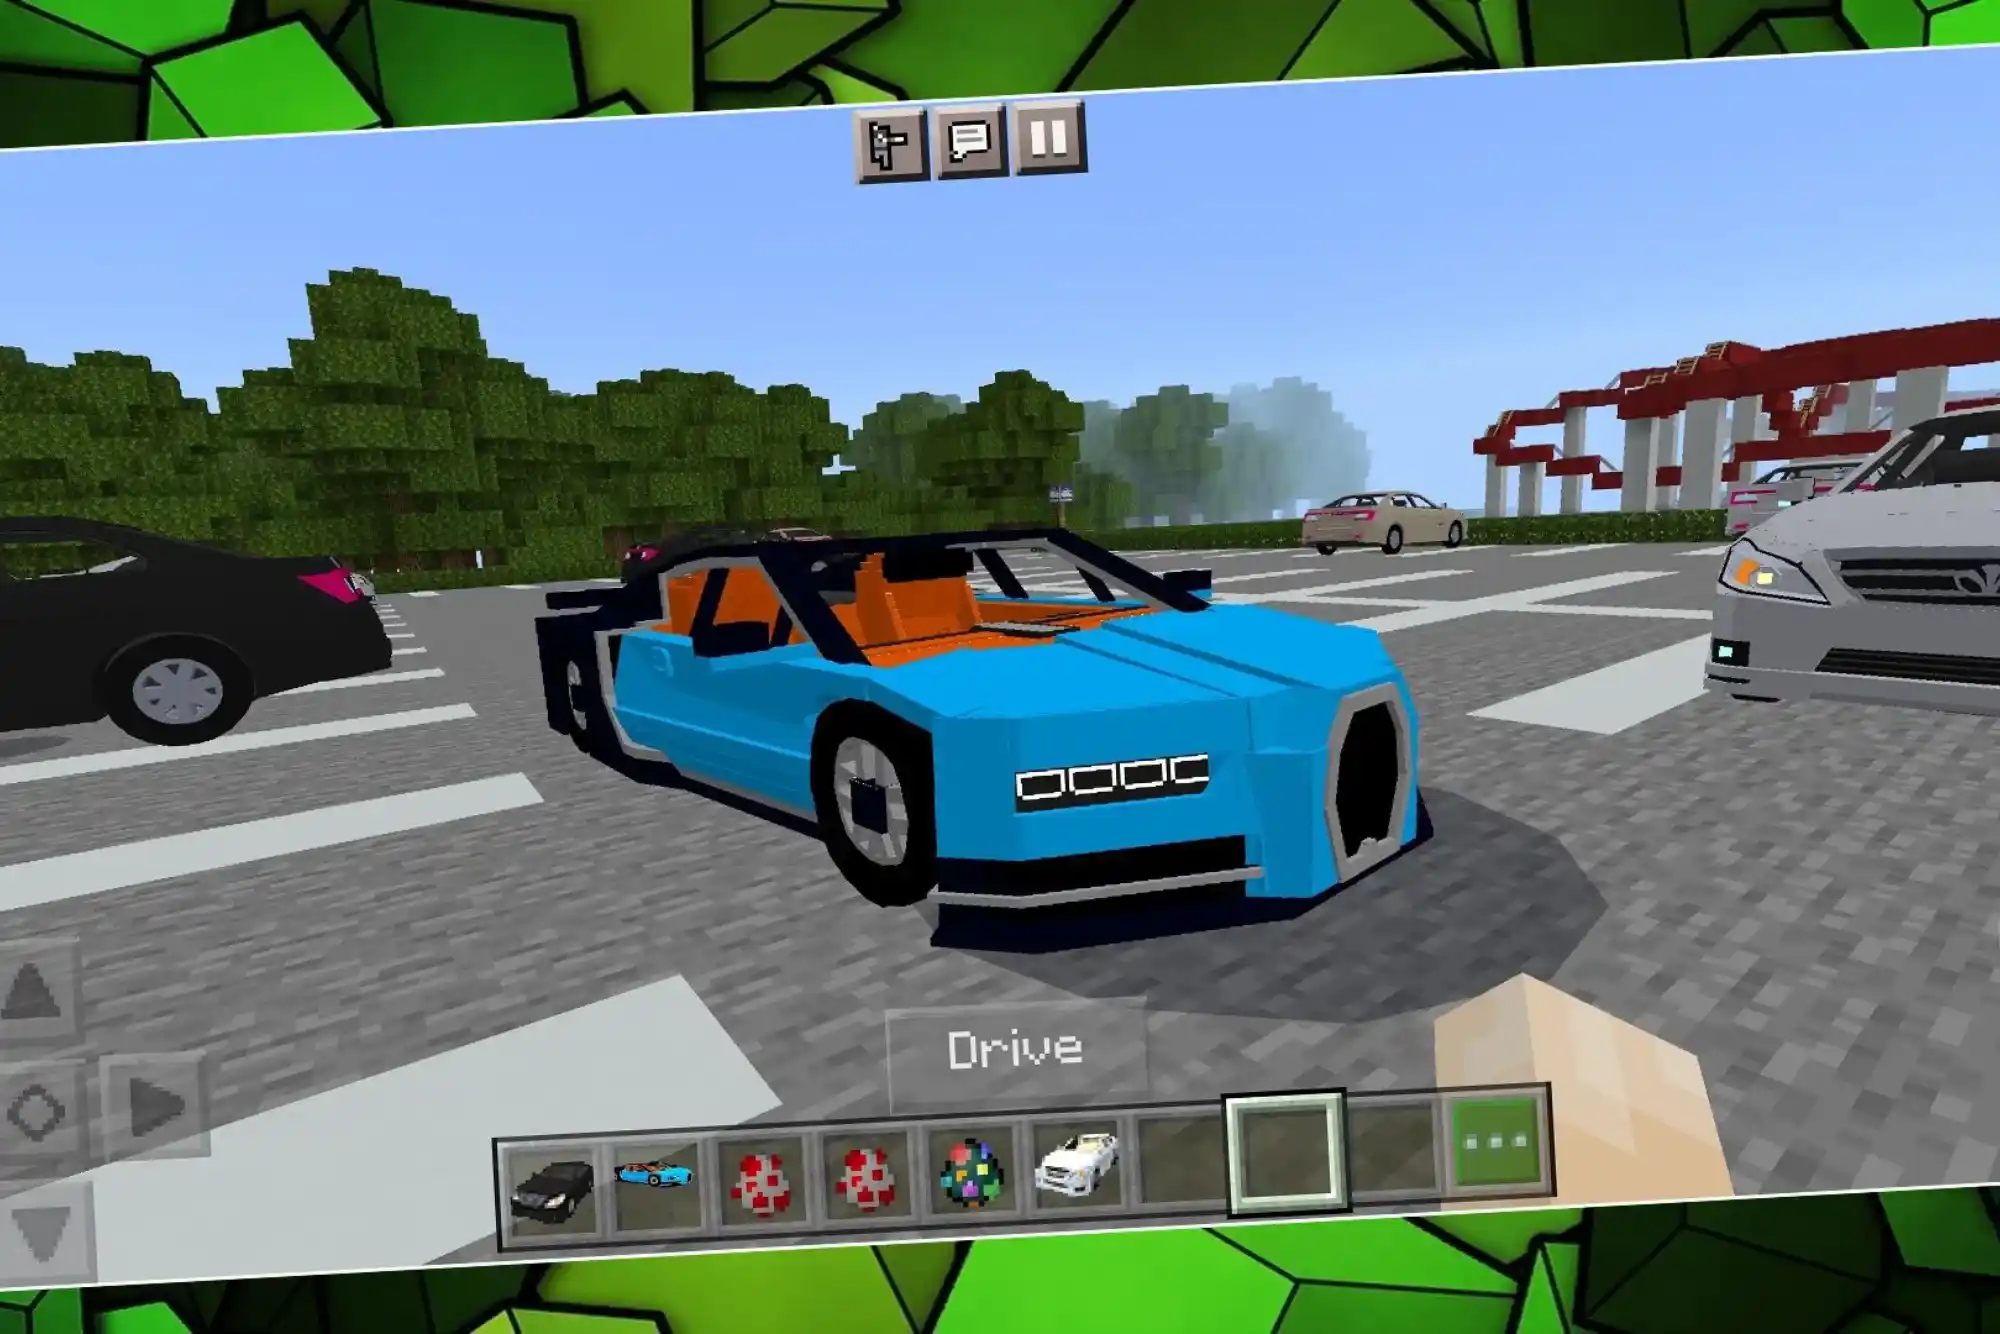
Once you’ve mastered the basics, consider adding these advanced features:
- Wheels: Use black wool or coal blocks to create a visual effect of wheels, enhancing the car’s appearance.
- Lights: Add glowstone or sea lanterns to simulate headlights and taillights for a more realistic look.
- Seats and Interior: Add stair blocks or slabs inside the car to serve as seats and give it a finished interior.
- Colors: Experiment with different colored blocks to give your car a unique style.
FAQs on Making a Car in Minecraft
Q1: Can I make a fully functional car in Minecraft?
A: Minecraft doesn’t support true vehicle mechanics. However, using Slime Blocks, Sticky Pistons, and Observers, you can build a simple moving structure that resembles a car.
Q2: Which Minecraft versions allow moving structures like cars?
A: Most recent versions of Minecraft, including Java and Bedrock Editions, support Redstone mechanics and moving structures with Slime Blocks and pistons.
Q3: How can I stop my Minecraft car?
A: To stop the car, simply break one of the Redstone Blocks powering the pistons. This will halt the movement until you reapply the Redstone Block.
Q4: Are there other ways to make vehicles in Minecraft?
A: Besides cars, players can create other moving structures like flying machines and trains using similar mechanics with Slime Blocks, Redstone, and pistons.
Q5: How can I decorate my car to make it look better?
A: Use blocks like black wool for tires, glowstone for lights, and various building blocks to enhance the design. You can also add seats and color schemes for a personal touch.
Creating a car in Minecraft is a creative way to explore Redstone and Slime Block mechanics. While these cars may not function like real vehicles, they add a unique dynamic to the game. By experimenting with different materials, placements, and block combinations, you can customize your car to suit your style and even build other types of vehicles.

