

Spotify is one of the world’s most popular music streaming platforms, offering users an extensive library of songs and playlists. But sometimes, you might want to personalize your experience a bit more. While Spotify doesn’t allow direct editing of songs, there are a few techniques you can use to make adjustments, customize playlists, and even enhance audio quality. This article will cover everything you need to know about how to edit songs on Spotify and optimize your listening experience.
Understanding Spotify’s Limitations on Song Editing
First, it’s essential to understand that Spotify does not currently offer in-app tools for direct audio editing, such as trimming, cutting, or remixing. Unlike other audio platforms, Spotify streams pre-recorded tracks, so modifying these files on their platform isn’t allowed. However, you can make playlist adjustments, edit metadata for organization, and improve sound settings to create a more personalized experience.

Alternative Ways to Customize Spotify Songs
Even though direct song editing isn’t possible, you can still enhance and personalize your listening experience in several ways:
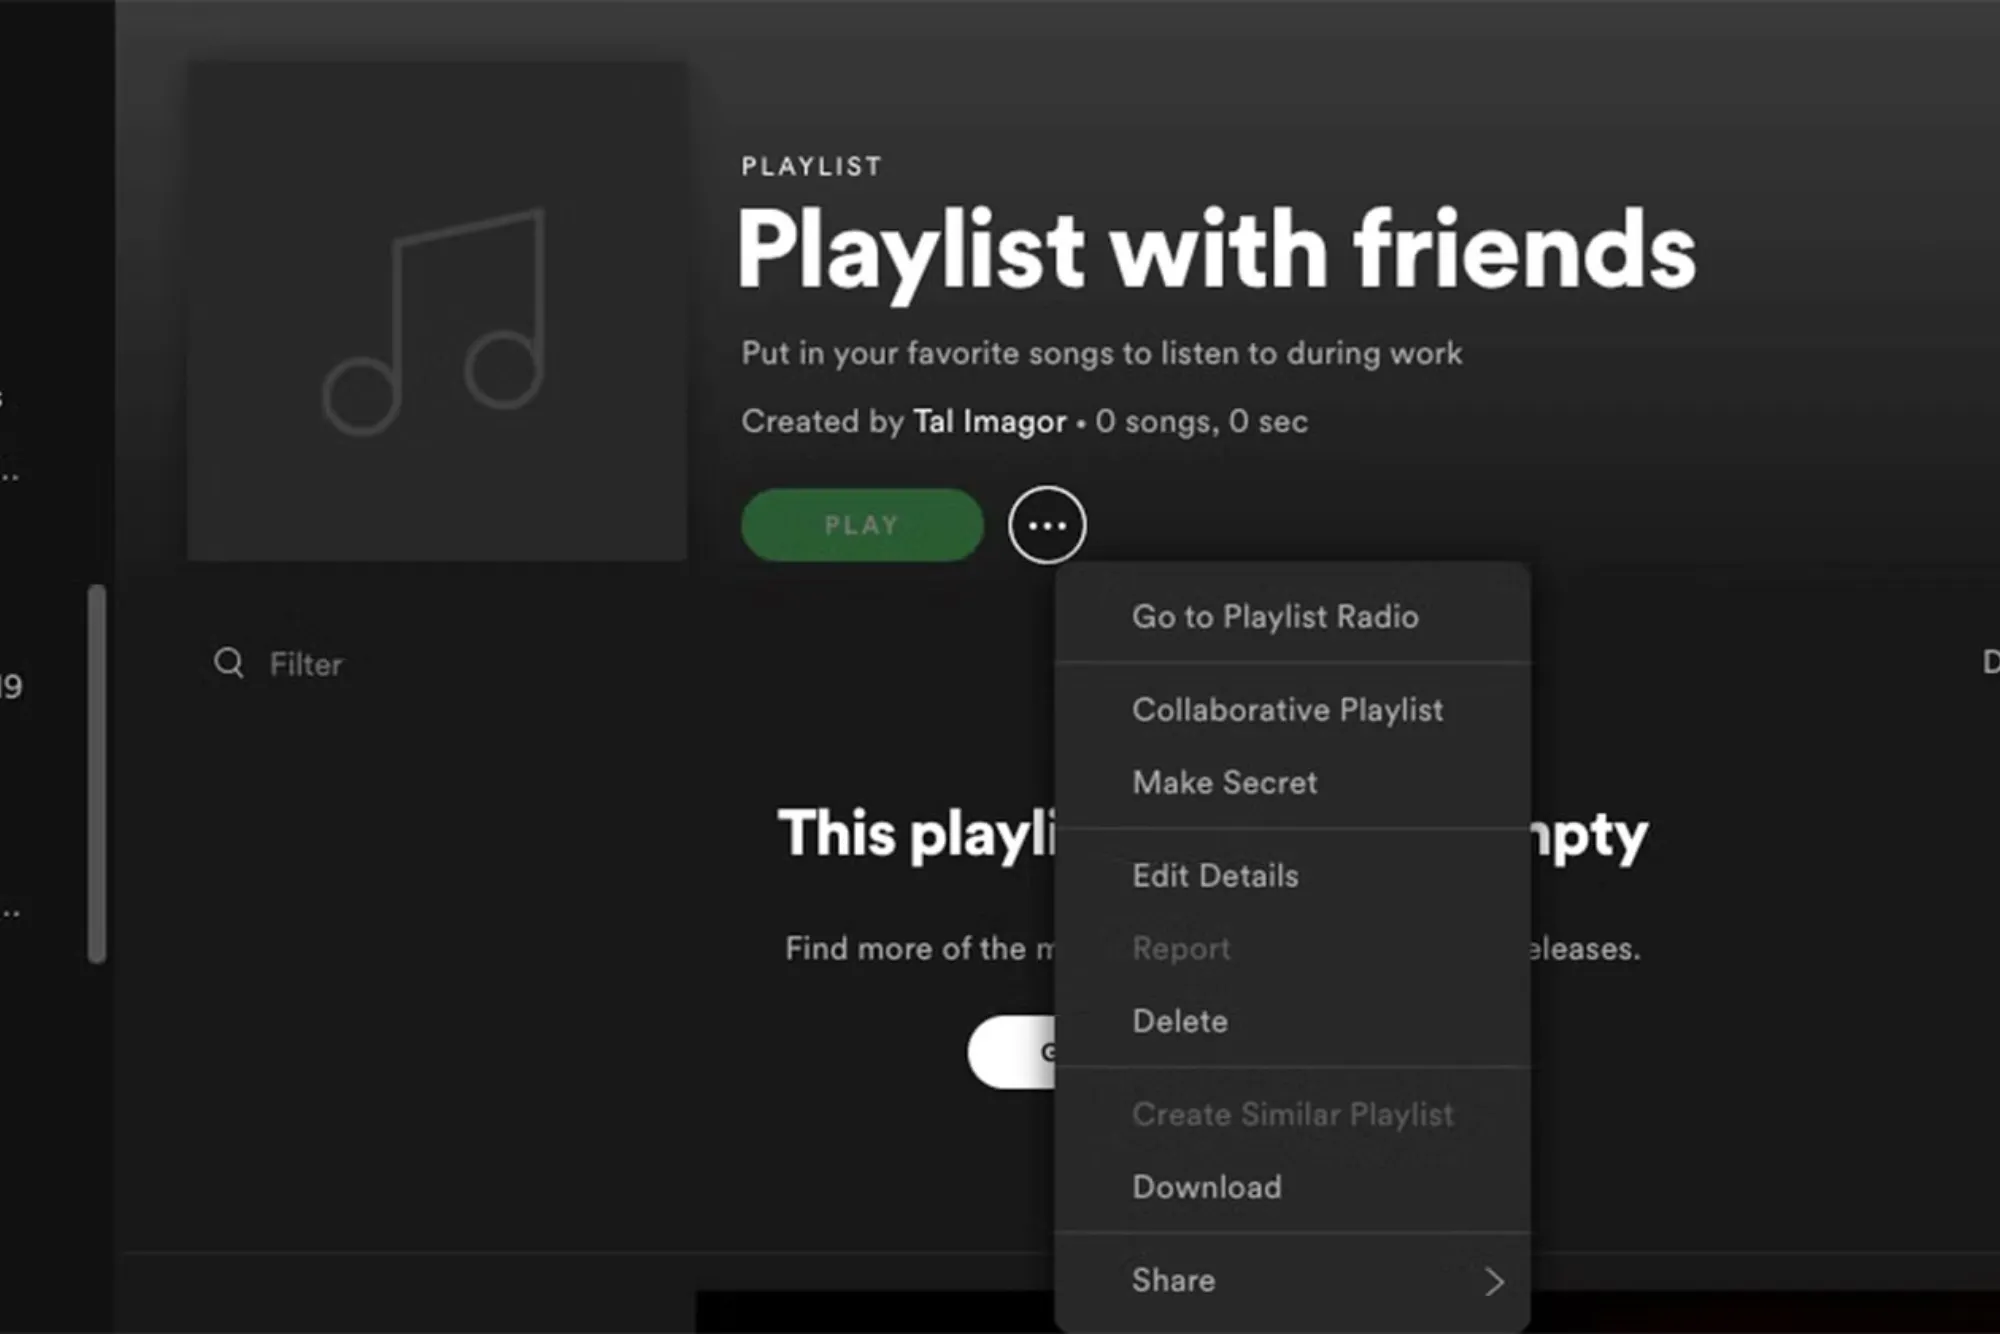
- Create Custom Playlists
Creating custom playlists is one of the easiest ways to organize your favorite songs and control playback order. You can add or remove songs, rearrange them, and share playlists with friends. - Use Spotify’s Equalizer
Spotify includes a built-in equalizer that allows you to adjust sound settings. This tool is especially useful for enhancing certain music genres, like bass-heavy tracks, classical music, or vocals. - Edit Song Information on Local Files
If you have downloaded music that you own, you can edit the song’s metadata before uploading it to your Spotify library. This allows you to organize these files within Spotify playlists.
Step-by-Step Guide on Editing Songs for a Customized Spotify Experience
Here’s how to use various tools and techniques to Edit Songs on Spotify and playlists on Spotify effectively.
Creating and Organizing Playlists
Playlists are a great way to personalize your Spotify experience. By creating playlists, you can group songs based on genres, moods, or any other criteria.
Steps to Create a Playlist on Spotify:
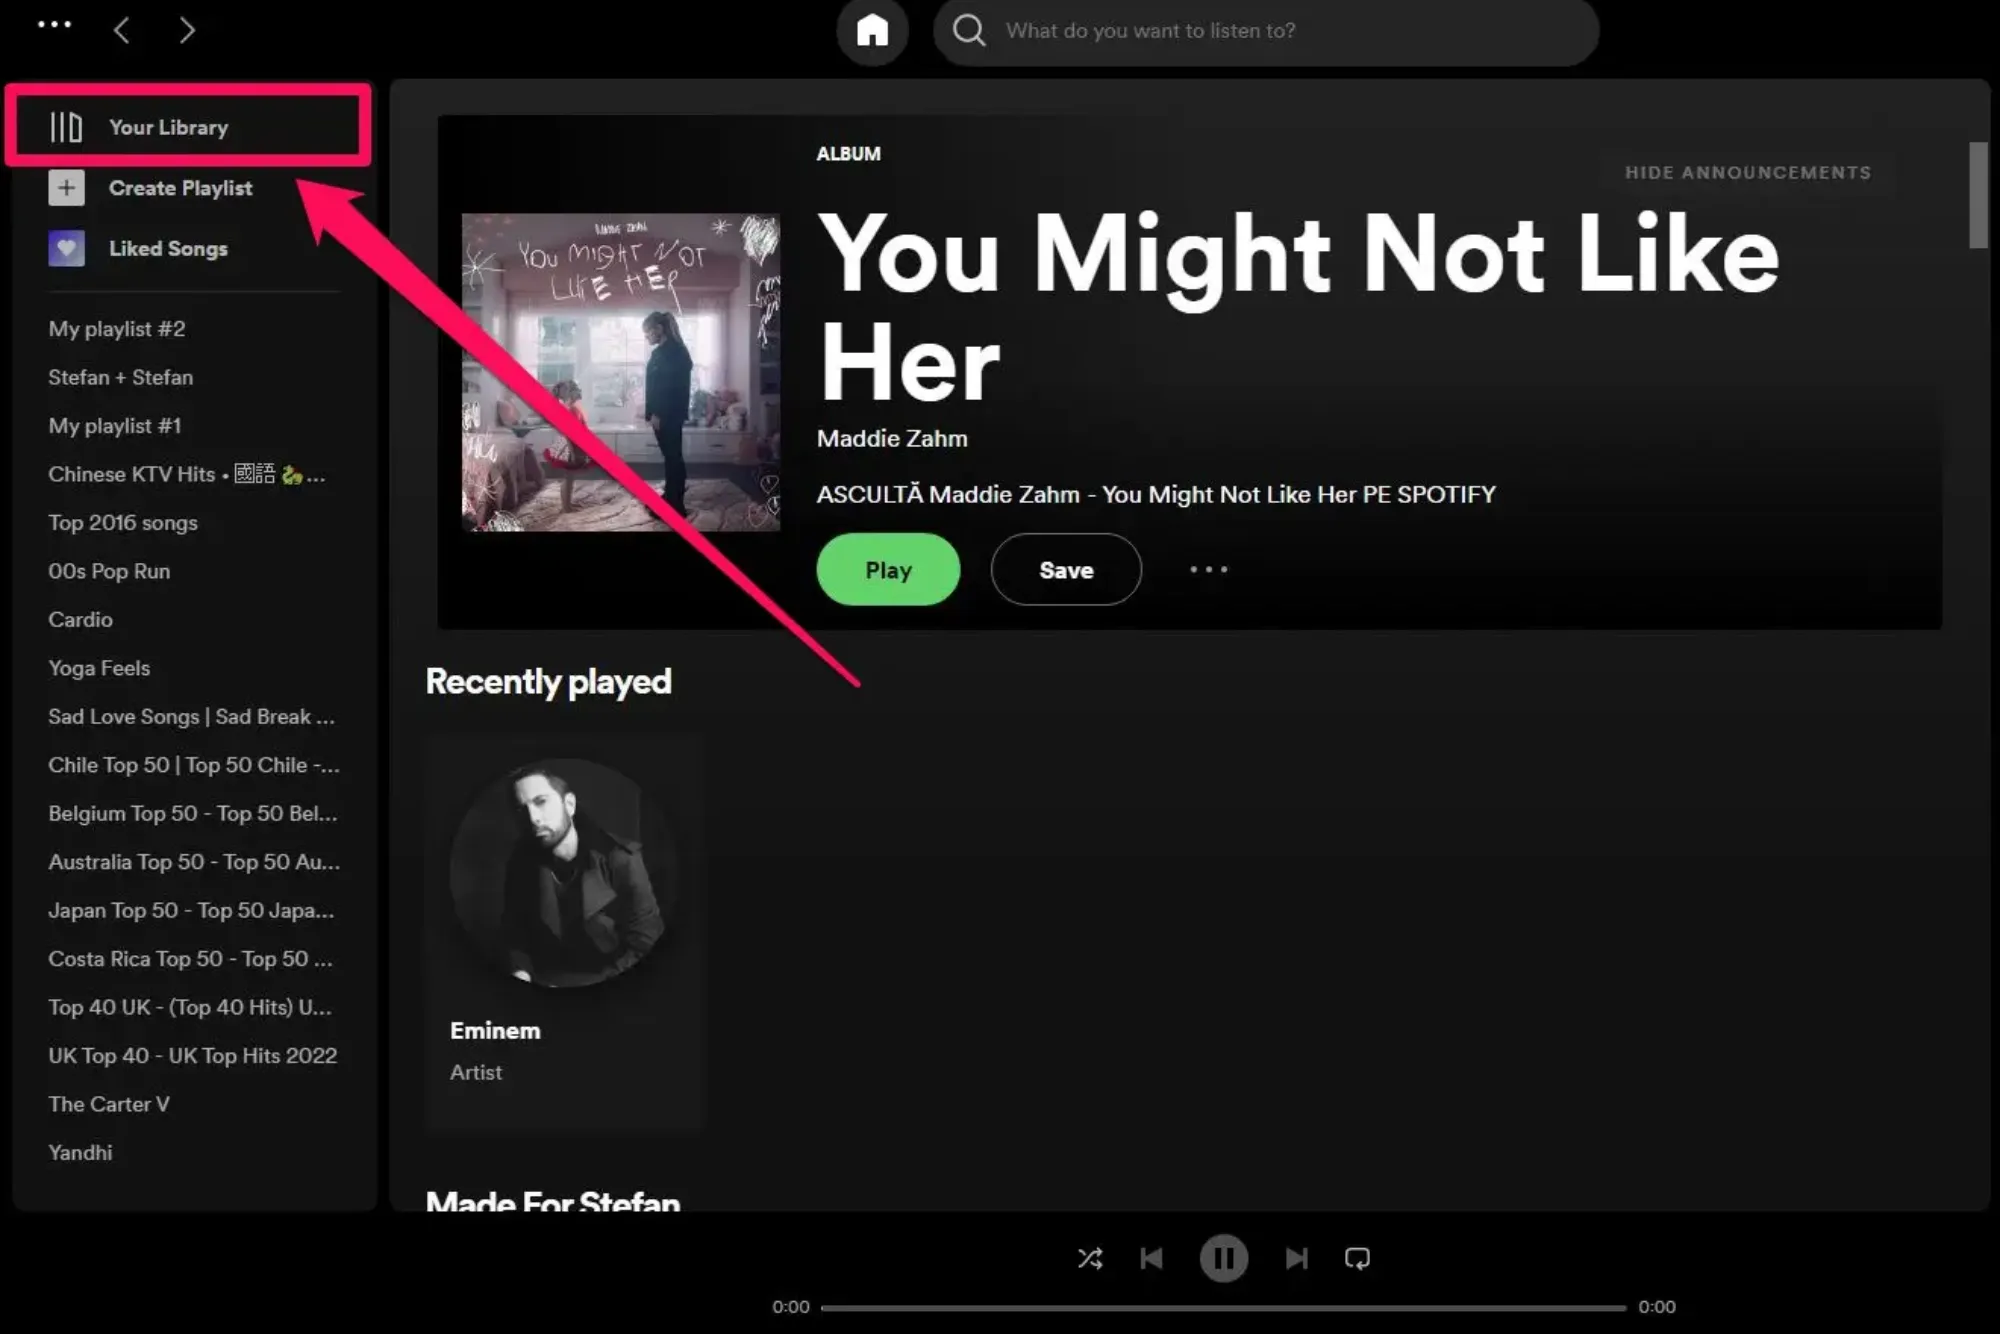
- Open the Spotify app and go to “Your Library.”
- Select “Create Playlist” at the top of the screen.
- Give your playlist a unique name, and click “Add Songs” to start building it.
- Once your playlist is complete, you can reorder songs by dragging and dropping them.
Creating playlists allows you to control the music flow, organizing songs according to your preference. Plus, Spotify allows you to make your playlists public or private, so you can share them with friends or keep them just for yourself.
Editing Song Metadata on Local Files
If you have personal audio files saved on your device that you want to add to Spotify, you can first edit the metadata to make them easier to find and organize. You can modify the title, artist, and album info before adding them to your Spotify library.
Steps to Edit Metadata on Local Files:
- Locate the song file on your computer or mobile device.
- Right-click on the file, then select “Properties” (on Windows) or “Get Info” (on Mac).
- Go to the “Details” tab (Windows) or “Info” tab (Mac).
- Modify the song title, artist, album, genre, or any other metadata as desired.
- Save the changes and import the song into your Spotify library.
Using Spotify’s Built-in Equalizer
Spotify’s equalizer can enhance sound quality by adjusting audio frequencies. Although this won’t change the song itself, it lets you personalize the way each track sounds, depending on the genre or mood.
Steps to Access and Use the Equalizer:
- Open Spotify and go to “Settings.”
- Scroll down to “Playback” and select “Equalizer.”
- Choose from preset options like “Bass Booster,” “Pop,” “Jazz,” etc., or customize the settings manually by adjusting each frequency slider.
Using the equalizer allows you to control bass, treble, and mid-range levels, enhancing your listening experience, especially if you’re listening with high-quality headphones or speakers.
Table: Summary of Methods to Customize Songs on Spotify
| Customization Method | Description | Benefits |
|---|---|---|
| Playlist Creation | Organize and personalize music collections | Control over music flow |
| Metadata Editing on Local Files | Edit title, artist, album, and other information before adding to Spotify library | Easier organization |
| Equalizer Settings | Adjust sound frequencies like bass and treble for better audio quality | Enhanced listening experience |
| Offline Listening Settings | Download playlists for offline listening with customized playlist arrangements | Convenient access without internet |
Additional Tips for Optimizing Your Spotify Experience
Using Third-Party Apps for Song Editing
While Spotify doesn’t allow in-app song editing, you can use third-party audio editing software to customize audio files before uploading them to Spotify as local files. Popular tools include Audacity (a free audio editor), Adobe Audition, and GarageBand. These programs let you cut, trim, and apply effects to tracks. After editing, you can upload the files to your Spotify library.
Setting Playback Preferences
Spotify provides several playback settings that allow you to adjust song transitions, such as Crossfade and Autoplay.
Steps to Adjust Playback Settings:
- Go to “Settings” in Spotify.
- Under “Playback,” activate or adjust “Crossfade” for smooth transitions between songs.
- Enable “Autoplay” if you want Spotify to continue playing similar songs after your playlist ends.
These playback features offer an enhanced listening flow and keep the music going even when your playlist ends.
Making Use of Offline Listening Mode
Spotify Premium users can download playlists for offline listening. This feature is excellent for organizing your favorite tracks and keeping them accessible without an internet connection.
Steps for Offline Listening:
- Open your playlist and toggle “Download.”
- Once downloaded, go to “Settings” and turn on “Offline Mode” when you want to listen offline.
Offline listening mode is useful for those on the go and ensures that your customized playlists are accessible anywhere.
Frequently Asked Questions (FAQs)
Can I edit Spotify songs directly within the app?
No, Spotify does not currently allow direct song editing within the app. You can adjust playlists, edit local file metadata, and modify playback settings to customize your experience.
How can I adjust the sound quality of Spotify songs?
Spotify has an equalizer that lets you change sound frequencies. You can access this feature in the settings under “Playback” to adjust bass, treble, and mid-range sounds.
Can I add edited songs to my Spotify library?
Yes, you can edit audio files with third-party software like Audacity or GarageBand and then upload them as local files to your Spotify library.
What are local files on Spotify?
Local files refer to audio files stored on your device that you can upload and play on Spotify. You can edit their metadata before adding them to the app for easier organization.
Is it possible to change song order within a Spotify playlist?
Yes, you can rearrange songs in a playlist by dragging them into the desired order.
Editing songs on Spotify may not be straightforward, as the platform doesn’t allow direct song modification. However, you can still customize your listening experience by creating playlists, adjusting sound quality with the equalizer, and editing metadata on local files. Whether you want to organize songs by genre, improve audio quality, or adjust playback preferences, there are plenty of options to help you personalize Spotify.